Welcome back to our three-part series where we break down the nitty gritty on getting your seeds started for Spring! Check out our previous blog post, Seed Starting for Beginners: The Complete List of Essentials for a comprehensive list of the materials you need to go from seed to garden.
Now that your supplies are gathered. it's time to get those seeds planted! Germinating is often one of the more stressful periods of the seed-starting cycle, as you can go from success to failure in a snap. Seeds have very specific temperature and hydration needs before they can start the growth process. Too much moisture in the soil and you risk rot or seed death, not enough moisture and the seed will never crack. If the soil is too cold, warm weather seeds will stay dormant, or can fall prey to pathogens. If the soil is too hot, your seeds may not germinate. There is a careful balance needed for successful seedlings. Let's get started!

Preparing Your Soil
Whether you’re growing in trays, or building an army of soil blocks, your Seed Starter Mix needs to be hydrated before it's ready to work. This can easily be achieved by putting your Seed Starter Mix into a large bowl or a bucket, and adding in warm water. We recommend mixing water into the soil until this blend is uniformly damp and approximately the texture of wet sand or peanut butter. If your soil is left over from last season, or is incredibly dry, it may become hydrophobic. If this is the case, you may need to use your hands to squeeze water into the soil (we recommend wearing gardening gloves or rubber gloves, but you do you). It takes more water than you think. You can tell soil is properly hydrated when you can squeeze the soil in your hands, and a small amount of water comes out of the soil. It should easily hold it's shape after being squeezed. If you are squeezing out a lot of water, or the soil is muddy, you may have overwatered your soil. Overwatering is easy to correct by adding a little more Seed Starter Mix.
Fill trays or cups with the pre-hydrated mix. Gently tap with your hand or against a table to get rid of any large air pockets. Add more mix. Repeat this process until your trays/cups are filled. You can press the Seed Starter gently into your preferred vessel, but try to avoid packing the soil too heavily. Seedlings have fragile root systems that are not strong enough to break through compacted soil. If your soil is packed too tightly, your young plants might not be able to get established.
If soil-blocking, mound the soil into a pile 1 ¼- 1 ½ times deeper than the height of the soil blocker. Press the blocker into this mound using a back and forth sweeping motion. Use downward pressure until you start to see a thin layer of water coming out of the top of your blocker. Twist the blocker a quarter turn and lift. Properly wetted soil will stick to the blocker until pressed out onto a tray or growing surface.

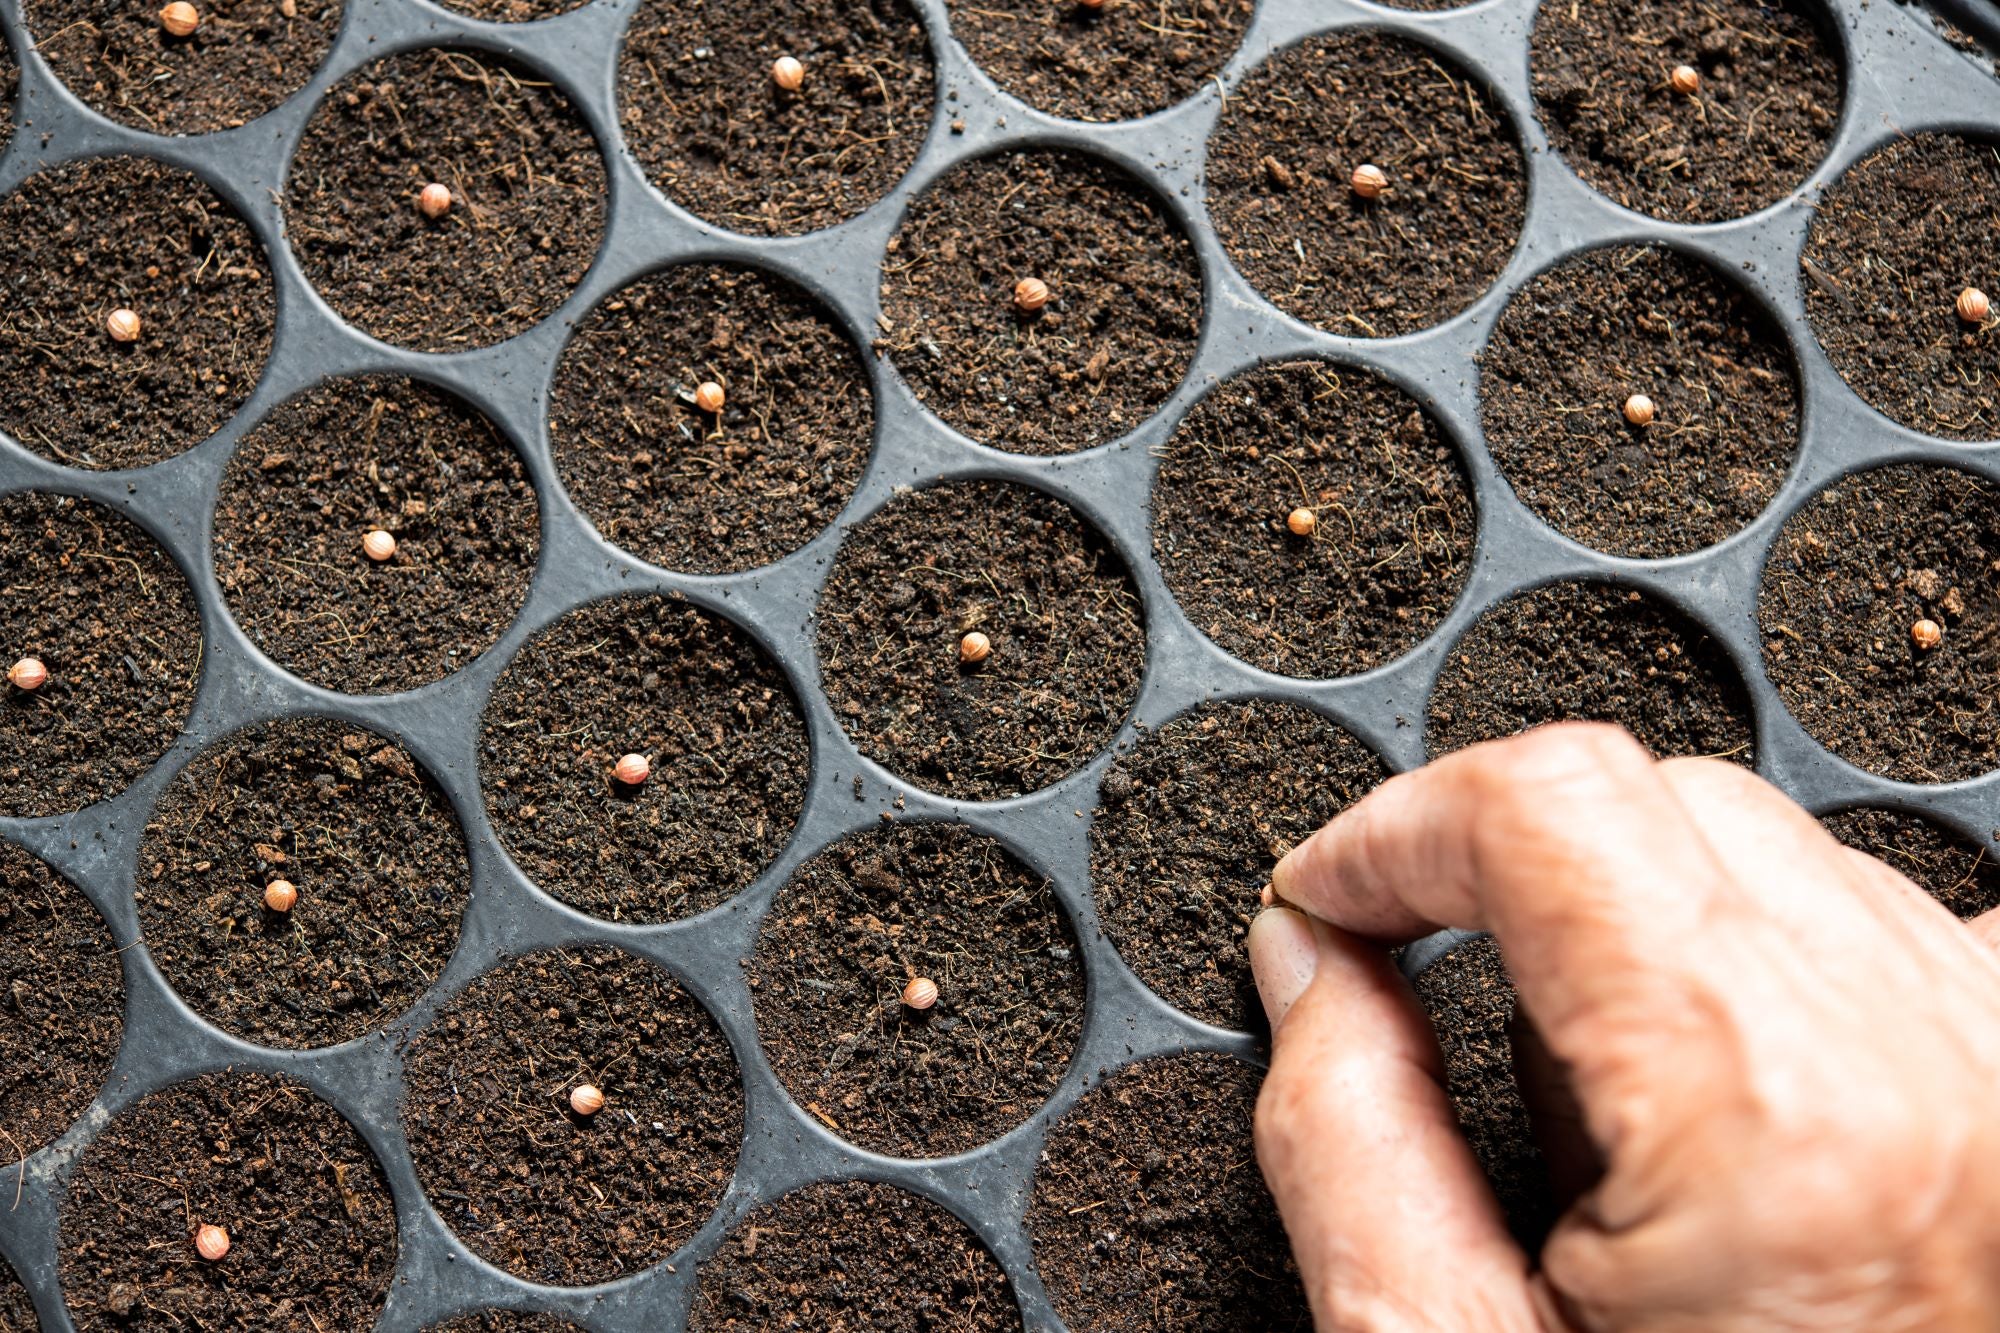
Planting the Seed
It's important to note that your seed starting success may be impacted by the quality or age of your seeds. Seeds, for best results, should be no more than about 3 years old, and should have been stored in a cool dry place before use. If your seeds are old, cracked, or have signs of mold (black speckles that are not natural to the seed's coloring, or a green hue), you should not use them. To test your seeds, you can sprinkle them into a cup of water. The seeds that sink have the best chance of sprouting, where the seeds that float likely do not.
Though you may be tempted to get all of your seedlings started at once, not all of your plant varieties need the same time to grow. Use this handy Seed Starting Timing Guide to plan out when to get your seeds started, and when to get them ready to go in the ground!
When planting seeds, you should have a general idea of how many plants you're trying to start. Figure out how many of each seedling you hope to grow, and plan a few extra growing cells/starter blocks for each variety to increase your chances of success. Even when growing with the highest quality seeds, you will likely have some plants that are either weak, or just don't start. Having a few extra plants on hand gives you better odds of successful transplants. We recommend marking your seed cells with your preferred plant stake or seedling identifier as you plant to ensure that your seedlings are properly identified. Seedlings often look very similar in the early stages of life, and similar varieties are impossible to tell apart until after they start to produce fruit. Don't want to mix up your spicy peppers and sweet peppers? Mark your seedlings.
Before putting your seeds into the soil, check the back of your seed packet for recommended planting depth when starting indoors. Some seeds have better success when planted deeper in the soil. Many gardeners use a device when planting called a 'dibbler' which presses an indent approximately 1/2 inch into soil blocks or trays for easier seeding. You can purchase a dibbler to make similar indents into seed starting trays, but a cheaper alternative is to gently press your fingertip into the soil, or use the back of a pencil to make a similar sized indent.
For best results when planting, it is recommended to place multiple seeds in each cell or soil block. For tiny seeds such as lettuce, basil, or strawberries, plant about 4 seeds. For bigger seeds such as tomatoes, peppers, and cucumbers, plant 1-2 seeds. Large seeds like watermelon, pumpkin, and squash should only have one seed per cell, and prefer to be planted deeper in the soil. These seeds are usually quick to grow, and can even be direct-sowed for many growing zones. Cover with a thin layer of soil after planting. Gently press to secure.

Germinating Your Seeds
Give your seeds a light spritz of water, and assemble your soil blocks, cups, or cells on a drainage tray (also referred to as a seed tray). Cover with the humidity dome or a light layer of plastic wrap. Keep the holes on your ventilation dome open to prevent excess moisture buildup. If your tray does not have ventilation holes, carefully use the tip of a hot glue gun to melt some holes in the top, gently poke some holes in the top with a nail, or use a sharp pair of scissors to cut vents along the top of the container.
When using a humidity dome, be careful not to overwater germinating seeds. Water is easily trapped when using the domes, and can lead to rotting or seed death early in the germination cycle if not carefully monitored. Check seedlings daily for signs of growth or excess humidity on the inside of your dome. You may need to slightly offset the dome to allow water to evaporate, remove the dome altogether, or create more ventilation for best results.
Heat is your best friend when trying to help your seeds germinate. Place your seed trays on a heating mat set between 68-85 degrees F, or in the warmest room in your house. Light is not necessary for this part of the growing process, so you don’t have to worry about your lighting setup just yet. There's no harm to your seeds if you place them under a grow light, so many gardeners will set their light and heat lamp up at the same time for convenience. If you choose to not place your seedlings near light right after planting, be careful to monitor their growth, and move them to a light source after your seeds begin to germinate. Seedlings can become leggy overnight, so be vigilant!
Germination can take up to three weeks for some plant varieties, and may occur within days for others, so be patient and don’t give up if you don't see growth right away! If your growing area is cooler, you can try placing your seeds near a radiator or using a small space heater to increase the temperature near your seeds. Be careful to stay within the range of 65-85 degrees, and keep an eye open for your soil drying out faster with the added heat. If you don’t see growth within three weeks, you may need to try starting a new round of seeds.
Now that your seeds are planted, germinated, and ready to turn into delicious summer produce, it becomes a careful waiting game until it's time to move your plants outdoors. Stay tuned for our next, and final, Seed Starting for Beginners, where we break down plant care, troubleshooting, and what to do when it's finally time to get planting.
Want to know more about seed starting, and getting seeds started for success? Contact our team of gardening experts!